
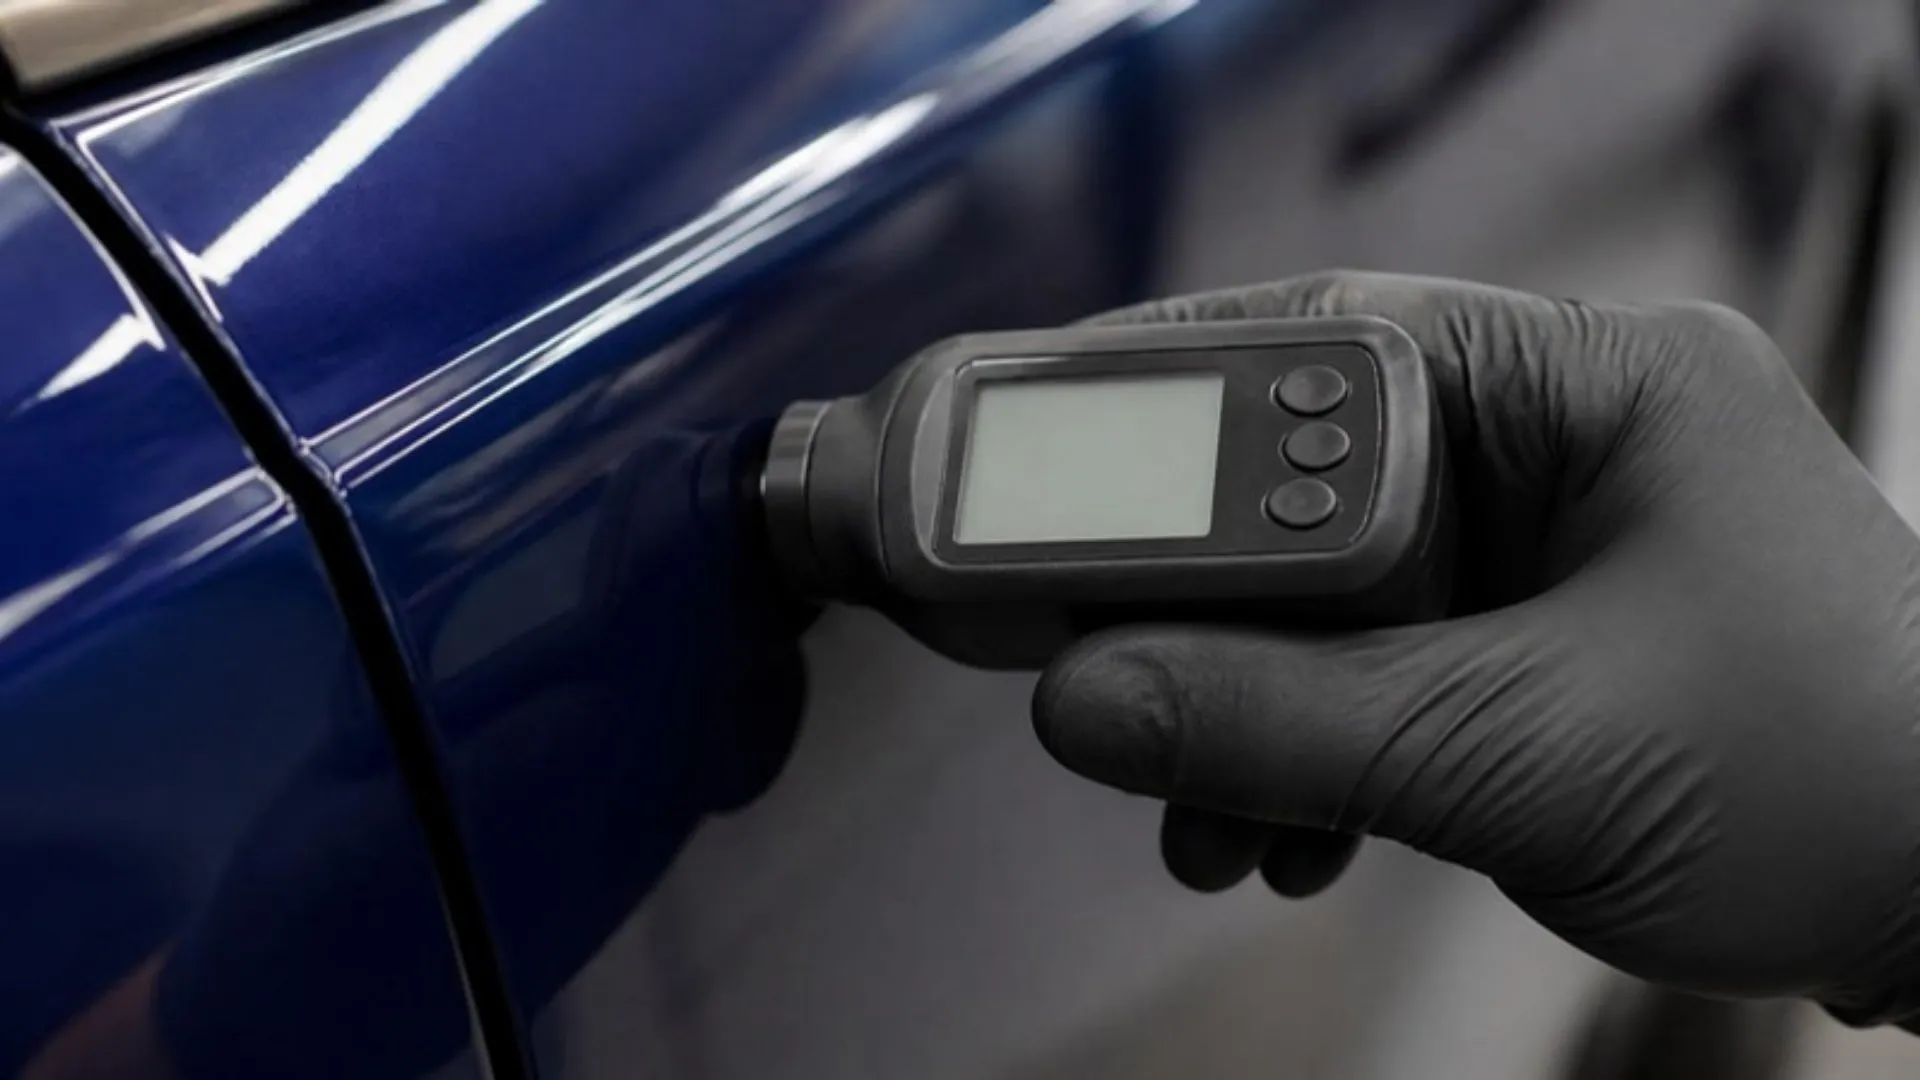
Paint thickness gauge readings show the total thickness of every layer of paint on a panel, not just the clear coat. On factory paint, the clear coat is usually about a third of that number. So a reading of 120 microns means you have roughly 40 microns of clear to work with, and only a small part of that can safely come off.
That is why it is worth putting a paint thickness gauge on the car every time before you polish. You can’t see how much clear is left, and once it’s gone, no polish brings it back.
What a paint thickness gauge measures
Factory paint is built in layers: e-coat, primer, base coat (the color) and clear coat on top. Polishing only ever touches the clear coat.
A standard paint thickness gauge reads all of those layers as one number. It can’t tell you where the primer stops and the clear starts. Gauges that read each layer separately use ultrasound, and they cost far more than most detailers will spend.
A few other things to know before you read the numbers:
- It only works on metal. Most gauges read steel and aluminum panels. They won’t give a reading on plastic bumpers, fiberglass or carbon fiber.
- Microns or mils. Gauges show either unit. 1 mil is 25.4 microns. We use microns because the numbers are bigger and small changes are easier to see.
- Readings move around. Paint thickness changes across a panel, and it’s often thinner near the edges. One reading per panel isn’t enough.
How much of the reading is clear coat
We go by about a third. Take the total reading, divide by three, and that’s a rough idea of the clear coat.
Other detailers use a range of a third to a half, and published figures put factory clear coat at about 35 to 50 microns. Using a third keeps you on the safe side, because you’d rather think you have less clear than you do.
These are example readings, worked out at a third:
| Total gauge reading | Estimated clear coat (about a third) |
|---|---|
| 150 microns | about 50 microns |
| 120 microns | about 40 microns |
| 100 microns | about 33 microns |
| 80 microns | about 27 microns |
It’s an estimate. Every car is painted differently, and a standard gauge can’t measure the clear on its own.
Normal factory paint thickness
Most factory paint reads somewhere between about 100 and 180 microns. Some newer cars come off the line at 100 microns or less, so a low number doesn’t always mean someone polished it before you.
To get a feel for what a car started with, it is worth measuring the door jamb. It rarely gets polished, so it’s the closest you’ll get to the original thickness.
Then compare panels against each other:
- One panel much thicker than the rest: it has likely been repainted or had bodywork.
- One panel much thinner than the rest: it may have been polished hard before, or it has worn down.
- The whole car reads low: it may have been corrected before, or it may just have thin factory paint.
How much clear coat you can safely remove
The rule of thumb most detailers and product makers go by is no more than about 12.5 microns (0.5 mil) of clear coat over the whole life of the car. Another version of the same rule is no more than about 25% of the clear.
The reason is UV protection. Clear coat carries the UV blockers that stop the paint from fading and peeling, and they’re mixed through the clear, so the thinner it gets, the less protection is left. Cut too much off and the clear can fail years later, even though you never went through it.
It is best treated as a rule of thumb, though at least one carmaker puts it in writing: a 2013 Chrysler bulletin says not to remove more than 0.5 mil.
How much a one-step, two-step and wet sanding remove
How much clear each step takes off depends on the pad, the product, the machine and how hard the paint is. These are figures reported by detailers who measured before and after, not lab results:
| Process | Clear coat removed (reported) |
|---|---|
| One-step polish | about 1 to 3 microns |
| Two-step (compound, then polish) | about 2 to 4 microns for general swirls, 5 to 10 when chasing deeper defects |
| Wet sanding | no reliable figure; the most aggressive of the three |
Put those next to the 12.5 micron rule and the math is simple. A few one-steps over the life of a car are fine. Heavy compounding can use up a big part of the safe amount in one go. A rotary on wool takes off more than a DA, which we cover in DA polisher vs rotary polisher.
This is also why we would measure before and after a test spot. It’s the only way to know what your combination is taking off on that car.
What reading you need for a one-step or a two-step
There’s no official cutoff. These are the rules of thumb working detailers use, based on the total gauge reading:
| Total reading | Rule of thumb |
|---|---|
| 100 microns and up | A one-step or two-step is generally fine. |
| 80 to 100 microns | Thin. One-step only, with a test spot measured before and after. |
| Under 80 microns | Very thin. No compounding. A finishing polish at most, or just protect it as it is. |
| Wet sanding | Detailers who do it want around 130 microns or more, and a known paint history. |
We would go by the lowest reading on the panel, not the average. It is also worth checking it against the door jamb: 90 microns on a car that read 95 in the jamb is a different story from 90 on a car that read 140.
Why we don’t wet sand customer cars
We don’t wet sand. It takes off more clear than polishing, it’s hard to control, and getting the sanding marks back out is the difficult part.
Wet sanding mostly belongs on custom paint, where the painter lays down extra clear expecting it to be sanded flat. Factory clear usually isn’t thick enough to give you that room. If a defect needs sanding to come out, it’s likely too deep to remove safely anyway.
See the fingernail test for how to tell.
How to measure paint thickness on a car
- Calibrate the gauge. Follow the manual. Most gauges come with steel and aluminum plates to zero against.
- Start with clean paint. Wash the car first so dirt isn’t sitting under the probe.
- Measure the door jamb. That’s your starting point for what the paint was when new.
- Take several readings on every panel. Hit the middle and near the edges, where paint is often thinner.
- Note the low spots and anything odd. Thin areas, and panels much thicker than the rest, which point to a repaint.
- Do a test spot and measure again. Compare before and after to see what your pad and product actually took off.
The paint thickness gauge we use
We use the Rhopoint Thickness Gauge on our jobs. It measures from 0 to 2,000 microns, it’s rated accurate to within 2% plus 1 micron, and it sends readings to a phone app so you can record them for each car. It was listed at $199 when we wrote this.
Cheaper gauges are out there, and many of them also read steel and aluminum. We haven’t used them, so it is worth checking the listed accuracy before you buy one. A gauge that’s off by several microns isn’t much help when you’re working with a 12.5 micron safety margin.
Overall
Overall, paint thickness gauge readings show every layer of paint as one number, so the clear coat is only part of it. We go by about a third of the reading as a rough estimate of the clear, and the common rule of thumb is to take off no more than about 12.5 microns over the life of the car. A one-step takes off about 1 to 3 microns, while heavy compounding can use up a big part of that in one go. It is worth measuring the door jamb first, taking several readings on every panel and going by the lowest one. Under about 80 microns, we would skip compounding and protect the paint as it is.